
I was looking through some photos on my computer and camera, and I realized I had taken process shots of a picture I worked on last year. I had almost forgotten about them. I really do like the pictures I have taken so I though I would share the step by step process I did for this piece. This is by all means no tutorial, but to show what I did to get to the finish product.

After I lightly sketched out the picture I colored over the lines with a dark blue and started defining the shadow areas on her face

I then used the blue to define what will be the darkest parts on her hair.

I began the base color of her skin, using blues and purples for shadows.

Adding more color to her skin. Using pinks, violets, and even a little bit of green too.

Eyes and lips are finished, and I began working on the hair.

Hair is mostly finished.

The veil is done.

I darken the hair more to help give it volume, and darkened some spots on the veil to help make it pop more.

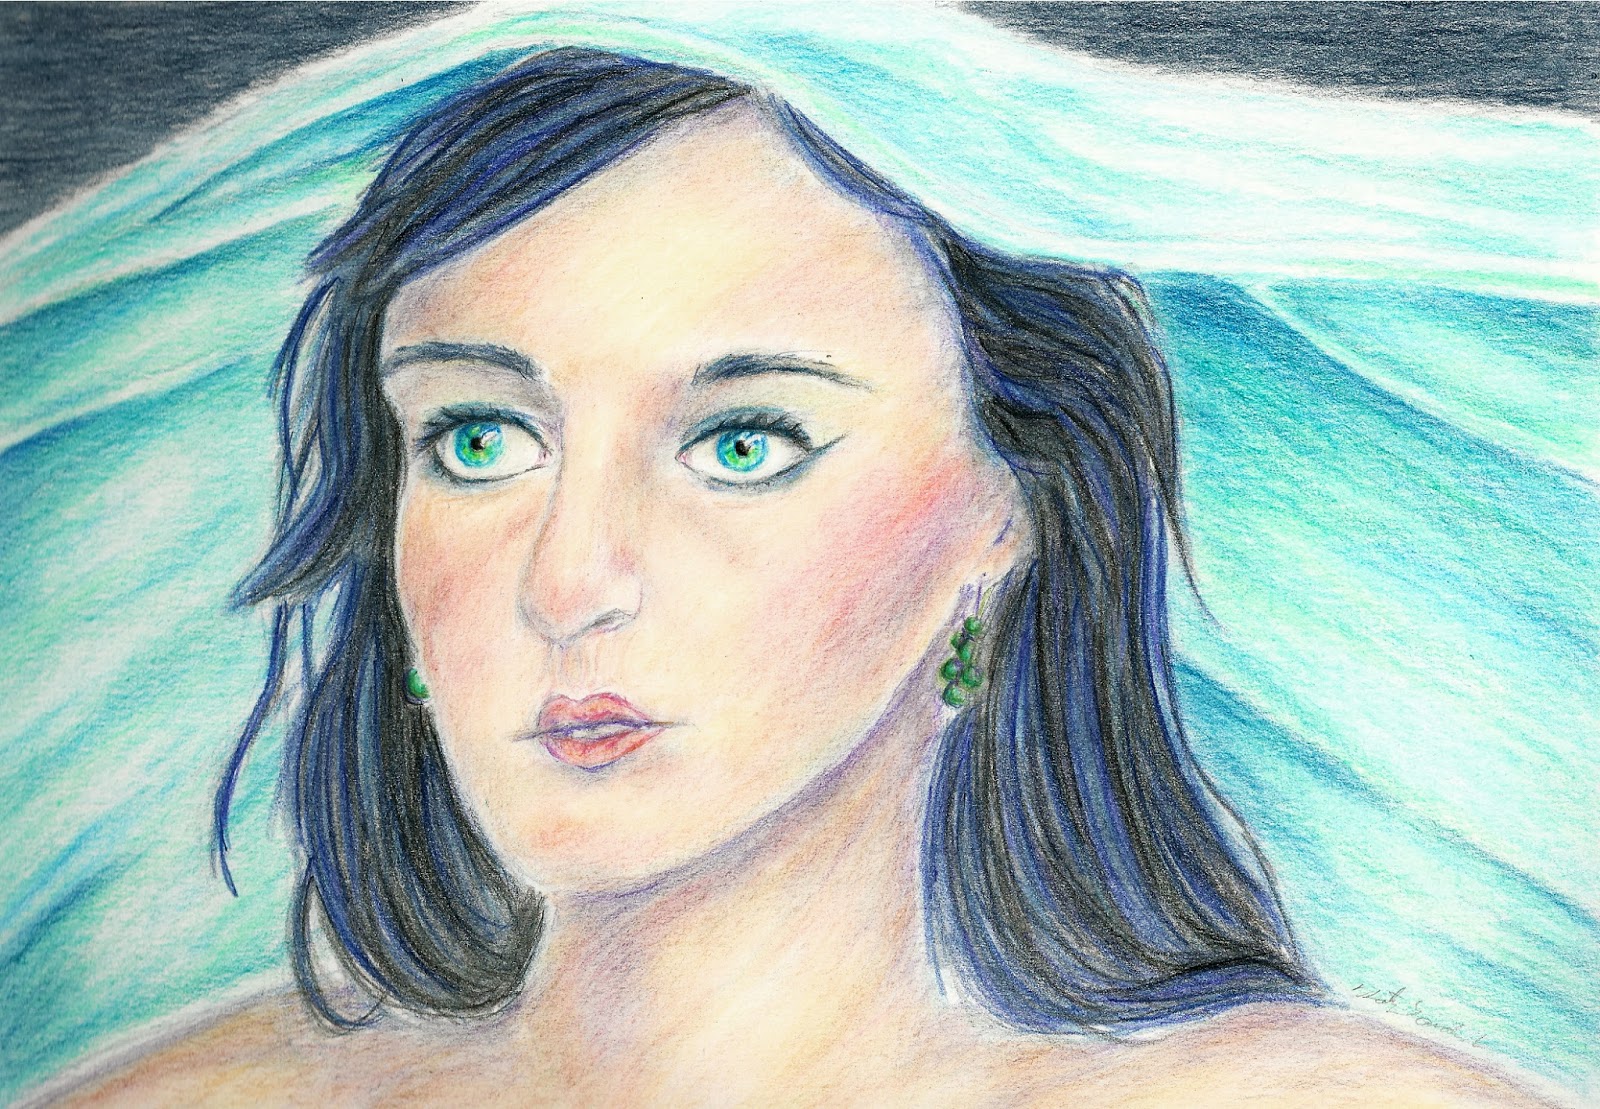
Worked on the background, and smoothed the skin out with a blending stump and it's done!
This picture was fun to do. This was my first piece using purely Faber Castell Polychromos. This is also the first colored pencil drawing I did on Strathmore Smooth Britol. Even though I really like how smooth the skin came out, I was unable to go as dark as I would have like to do to the paper not really having a tooth. It was a fun experiment though.
This piece was done for the Colored Pencil Magazine monthly challenged last year. The monthly challenges are free and open to all! It's a great way for honing your skill, and the people there are super nice. Please check it out. :)
Title: Veiled
Medium: FC Polychromos Colored Pencils
Paper: 9x12 Strathmore Smooth Bristol